
Meet the people behind this publication


DKIM Generator: Email security helps protect business communications and maintain sender reputation. Organizations that send email regularly need authentication methods to prevent unauthorized users from impersonating their domains. DomainKeys Identified Mail (DKIM) uses cryptographic signatures to help verify that messages come from an authorized sending system and have not been altered in transit. A DKIM generator makes it easier to create the DNS records needed to set up DKIM.
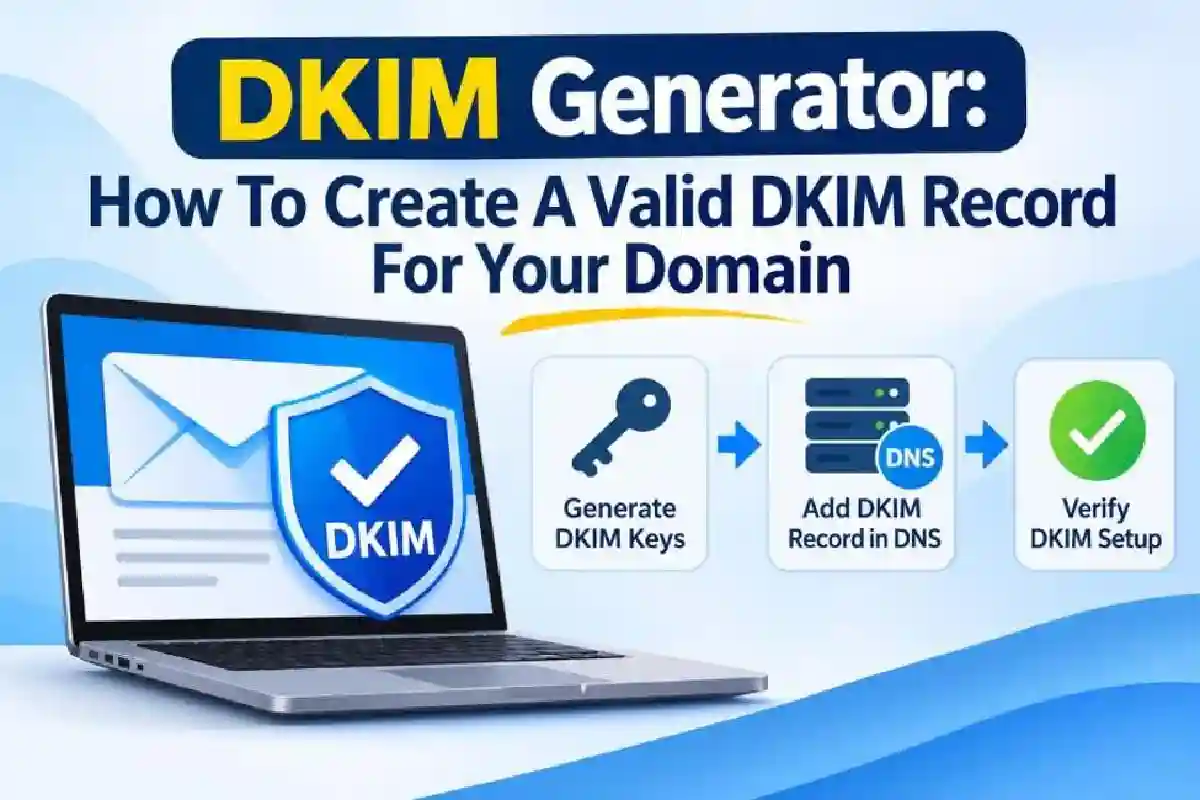
To create a valid DKIM record, generate a public and private key pair, configure your sending server, and publish the public key in your domain’s DNS settings. This guide explains what a DKIM generator does, how it works, how to create a DKIM record, and how to check that your configuration is working correctly.
This article belongs in Automation ESTable of Contents
What Is a DKIM Generator?
A DKIM generator creates the cryptographic keys and DNS record needed to set up DKIM authentication for an email domain. It gives domain administrators the information required to digitally sign outgoing messages. DKIM uses public-key cryptography: the sending server signs each message with a private key, and the receiving server retrieves the matching public key from the sender’s DNS records to verify the signature.
A DKIM generator typically provides two important outputs:
- Private Key: The sending email server uses this key to create digital signatures for outgoing messages. It must remain confidential.
- Public Key: This key is published in the domain’s DNS as a TXT record so receiving servers can verify the email signature.
The generator also creates the DKIM DNS record with the selector and public key information, making email authentication setup easier for administrators.
Why Do You Need a DKIM Generator?
Creating DKIM keys and formatting DNS records by hand can be challenging, particularly for organizations using multiple email platforms. A DKIM generator can help reduce configuration errors and simplify setup. Here are a few reasons to use one.
1. Simplifies DKIM Configuration
Setting up DKIM requires generating cryptographic keys and publishing the public key in DNS. A generator automates much of this process and provides the necessary record details in an organized format.
This helps administrators configure DKIM without manually building the entire DNS record.
2. Protects Against Email Spoofing
Email spoofing occurs when attackers forge sender information to make fraudulent messages appear to come from a legitimate domain.
DKIM helps receiving servers verify that an email carries a valid signature associated with the sending domain. This makes it more difficult for unauthorized parties to successfully impersonate authenticated email sources.
3. Improves Email Deliverability
Email providers increasingly evaluate authentication when deciding whether to deliver messages to inboxes or spam folders. A correctly configured DKIM record helps demonstrate that outgoing messages have passed domain-based authentication checks. Although DKIM alone cannot guarantee inbox placement, it supports better email trust and deliverability.
4. Supports DMARC Authentication
DKIM works alongside Domain-based Message Authentication, Reporting, and Conformance (DMARC). DMARC checks whether the authenticated DKIM signing domain aligns with the domain visible in the email’s From address. A valid DKIM signature that also satisfies DMARC alignment can help legitimate messages pass DMARC authentication.
5. Reduces Configuration Errors
Incorrect public keys, missing selectors, and formatting mistakes can prevent DKIM authentication from working properly. A DKIM generator creates properly structured key information and DNS record values, reducing the likelihood of common setup problems.

How Does a DKIM Generator Work?
A DKIM generator uses cryptographic algorithms to create a matching public and private key pair. These keys work together to authenticate outgoing email messages.
The process generally involves the following steps:
- Step 1: Enter Your Domain Name: Enter the domain you want to authenticate. For example, if your business uses example.com, enter example.com in the generator.
- Step 2: Choose a Selector: A selector identifies the DKIM public key used in your email configuration. Common selector names include default, google, and mail. You can use different selectors for different email services or key rotations.
- Step 3: Select a Key Length: Use a cryptographic key length supported by your email provider. RSA 2048-bit keys are commonly recommended for modern DKIM configurations.
- Step 4: Generate the Keys: The tool generates a public and private key pair. Configure the private key on your sending email server, and add the public key to your DNS record.
- Step 5: Create the DNS Record: The generator formats your public key as a DKIM TXT record, which you can publish through your domain’s DNS hosting provider.
- Step 6: Verify the Configuration: After publishing the DNS record, use a DKIM lookup or testing tool to verify that the public key is accessible and correctly formatted.
How to Create a Valid DKIM Record for Your Domain
Creating a valid DKIM record requires careful configuration of both your email server and DNS settings. Follow these steps to establish DKIM authentication.
1. Identify Your Email-Sending Service
Before generating a DKIM record, identify the platforms that send emails using your domain.
For example, your organization might use:
- Google Workspace for employee communication.
- Microsoft 365 for business emails.
- Amazon SES for transactional messages.
- SendGrid for marketing and automated emails.
- Mailchimp for promotional campaigns.
DKIM setup instructions vary by provider. Some generate the required keys automatically; others let administrators upload custom keys. Identify every service that sends email on your domain so you don’t miss any important authentication settings.
2. Generate a DKIM Key Pair
Use a trusted DKIM generator or your email provider’s admin panel to create a key pair. Enter your domain, choose a unique selector, and select a supported key length—RSA 2048-bit where available. The tool will generate a private key and a matching public key. Keep the private key secure: anyone who obtains it could potentially create DKIM signatures that appear to come from your authorized email system. Never publish it in DNS or share it publicly.
3. Create Your DKIM DNS Record
After generating the key pair, prepare a DNS TXT record with the public key.
A typical DKIM DNS record follows this format:
Host/Name:
selector._domainkey.example.com
Record Type:
TXT
Value:
v=DKIM1; k=rsa; p=PUBLIC_KEY
Here is what the different components mean:
- v=DKIM1: Identifies the record as a DKIM version 1 key.
- k=rsa: Specifies the cryptographic algorithm.
- p=: Contains the public key used to verify email signatures.
Replace `selector` with your chosen selector and `example.com` with your domain. Replace `PUBLIC_KEY` with the public key generated by your tool. Your email provider may specify additional tags or a different configuration; follow its instructions.
4. Publish the Record in Your DNS Settings
Sign in to your domain registrar or DNS hosting dashboard, then open DNS management and add a TXT record. Enter the hostname, record type, and public key generated earlier, then save. Allow time for DNS propagation; the update time depends on your provider’s configuration and the record’s TTL.
5. Configure Your Email Server
Publishing the public key is only part of DKIM setup. Configure your outgoing email server to sign messages with the matching private key. In your email provider’s administrative settings, enable DKIM signing for your domain. Google Workspace and Microsoft 365, for example, offer dedicated DKIM configuration options. Ensure the selector on your sending server matches the selector in your DNS record.
6. Test Your DKIM Record
After configuring your email server and publishing the DNS record, send a test email to an external mailbox. Then check the message headers to confirm the DKIM authentication result.
A successful authentication result typically appears as:
dkim=pass
Use a DKIM checker or lookup tool to verify that your public key is available in DNS. Testing can help you catch missing records, incorrect selectors, and key mismatches before they affect your regular email communication.

Common DKIM Record Errors and How to Fix Them
A DKIM generator can help, but configuration mistakes may still prevent email authentication from working correctly. Knowing the common issues makes troubleshooting easier.
1. Incorrect DNS Hostname
A DKIM record must use the correct selector and domain combination.
For example, if your selector is mail, the hostname should be:
mail._domainkey.example.com
An incorrect hostname can prevent receiving servers from locating the public key.
Solution: Compare your DNS hostname with the selector configured by your email provider.
2. Missing or Incorrect Public Key
A missing, incomplete, or incorrectly copied public key can cause DKIM verification failures.
Solution: Generate a new key pair if necessary and carefully copy the complete public key into your DNS TXT record.
3. Selector Mismatch
The selector in the email’s DKIM-Signature header must identify the corresponding DNS public key.
For example, if the message uses s=google, the receiving server looks for the public key at google._domainkey.example.com.
Solution: Make sure your email server and DNS configuration use the same selector.
4. Private Key Problems
If the private key configured on your sending server does not match the published public key, the receiving server cannot validate the signature.
Solution: Confirm that both keys belong to the same generated key pair. Replace mismatched keys and update the server configuration.
5. DNS Propagation Delays
DNS changes may not become visible immediately across all DNS resolvers.
Solution: Wait for the DNS update to propagate and perform another lookup before changing the configuration unnecessarily.